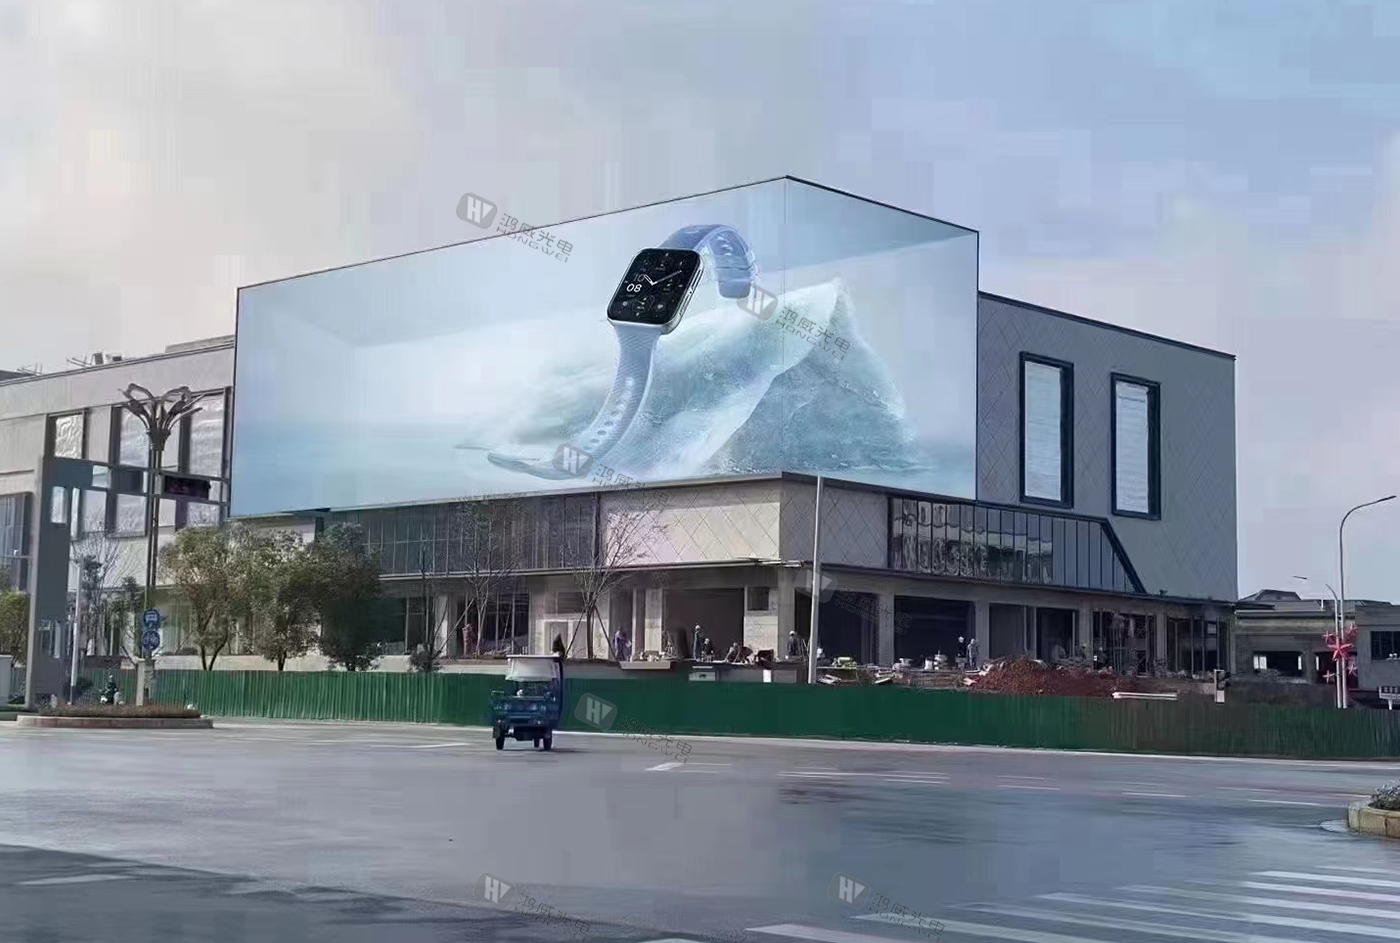
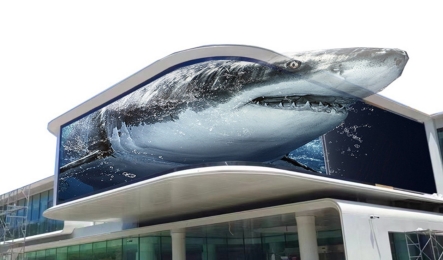
Outdoor LED screens have become an essential visual communication tool across modern cities. From advertising billboards and stadium scoreboards to transportation hubs and commercial centers, outdoor LED displays deliver high brightness, dynamic content, and excellent visibility under all lighting conditions.
However, achieving long-term performance and operational safety depends heavily on proper installation. Incorrect installation may lead to structural risks, electrical failures, poor display performance, or shortened lifespan.
This complete step-by-step guide explains how to install an outdoor LED screen correctly, covering planning, equipment preparation, installation procedures, and post-installation maintenance.
Successful outdoor LED screen installation always begins with detailed preparation. Skipping this stage often leads to costly adjustments later.
Before installation, evaluate the surrounding environment carefully:
Exposure to sunlight and weather conditions
Rainfall, humidity, and temperature variations
Viewing distance and audience positioning
Installation height and visibility angle
Outdoor LED screens must remain clearly visible even under direct sunlight, so brightness levels and positioning must be optimized during planning.
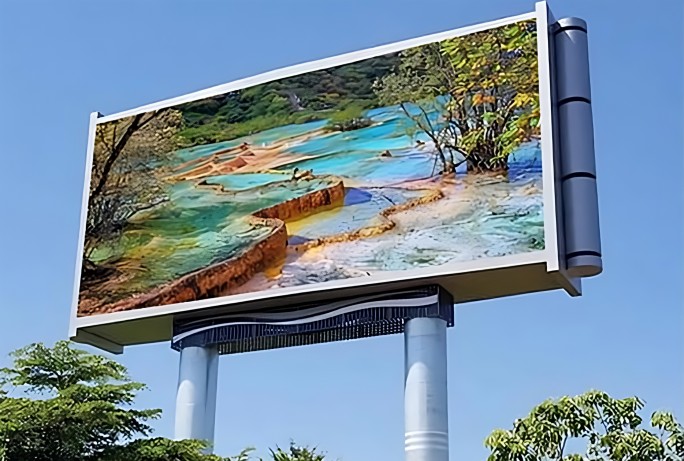
Outdoor LED displays are heavy systems that require reliable structural support.
Key considerations include:
Wall-mounted or ground-supported installation
Steel structure strength and stability
Wind resistance calculations
Local building safety standards
Large billboard or stadium installations especially require professional structural engineering to ensure long-term safety.
Outdoor LED screens consume significant electrical power, making proper electrical planning critical.
Ensure:
Stable voltage supply
Dedicated power distribution system
Proper grounding system
Lightning protection measures
Electrical instability is one of the most common causes of LED display malfunction.
Selecting the correct screen specifications simplifies installation and improves performance.
Important factors include:
Pixel Pitch Selection
Choose pixel pitch based on viewing distance:
P4–P6 for closer viewing
P8–P10 for roadside advertising
Larger pitch for long-distance viewing
Brightness Requirements
Outdoor screens typically require 5,000–10,000 nits brightness to maintain visibility in daylight.
Waterproof Protection
Outdoor installations should meet IP65 or higher protection rating to resist dust and water intrusion.
Cabinet Design
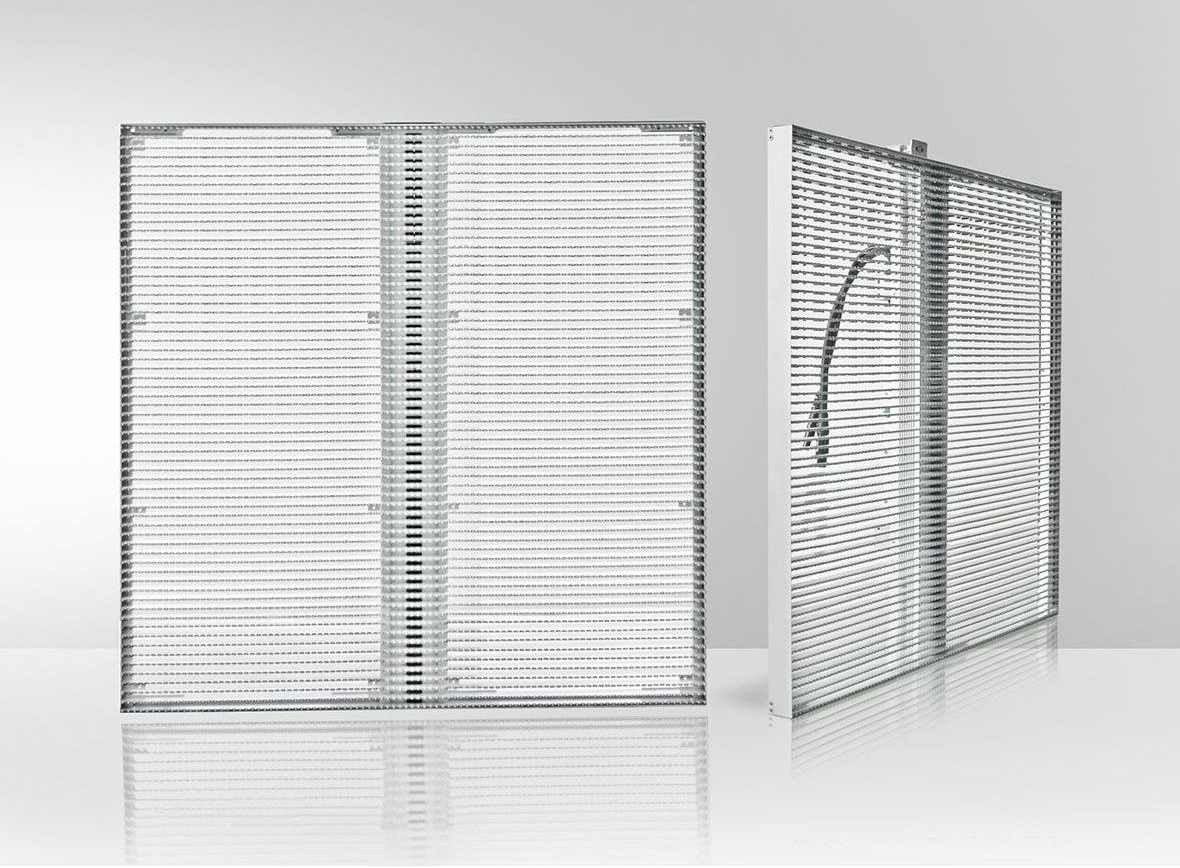
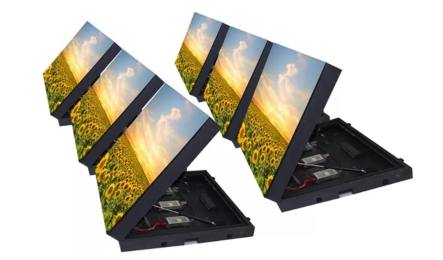
Aluminum or steel cabinets with efficient heat dissipation improve durability.
Maintenance Access
Front maintenance LED displays are ideal where rear service space is limited.
Before installation begins, prepare all required tools and components:
Steel mounting structure or brackets
Power and signal cables
LED cabinets and modules
Control system and sending/receiving cards
Waterproof connectors
Lifting machinery or cranes
Alignment tools and measuring instruments
Safety harnesses and helmets
Proper preparation significantly reduces installation time.
The supporting structure serves as the foundation of the entire LED display.
Installation tasks include:
Fabricating steel frames according to design drawings
Ensuring horizontal leveling
Reinforcing connection points
Applying anti-rust and anti-corrosion coating
A strong structure prevents deformation caused by wind or vibration.
Next, install electrical and communication systems.
Important practices:
Plan cable routes in advance
Separate power and signal cables
Use waterproof conduits
Install grounding wires properly
Clean cable management improves safety and simplifies future maintenance.
LED cabinets are installed sequentially onto the structure.
Installation tips:
Start from the bottom row upward
Maintain consistent alignment
Avoid excessive cabinet gaps
Tighten fixing bolts securely
Precise alignment ensures seamless display performance without visible lines or distortion.
After cabinet mounting:
Connect power supply units
Install receiving cards
Connect network or fiber signal cables
Configure control system hardware
Each cabinet must communicate correctly with the central controller to ensure synchronized image output.
Outdoor protection is essential for long-term operation.
Key measures include:
Seal all cable entry points
Protect connectors with waterproof covers
Apply silicone sealing where necessary
Ensure proper drainage design
Failure to implement waterproof protection is a major cause of outdoor LED failures.
Once installation is complete, conduct full system testing.
Testing procedures:
Power-on inspection
Module lighting test
Signal transmission verification
Brightness and color calibration
Uniformity adjustment
Calibration guarantees consistent color performance across the entire screen.
Many installation issues arise from avoidable errors:
Weak or improperly designed support structures
Poor cable organization
Ignoring ventilation requirements
Inadequate waterproof sealing
Improper grounding systems
Avoiding these mistakes significantly extends display lifespan.
Outdoor LED installation often involves working at height and handling electrical systems.
Safety guidelines include:
Use certified lifting equipment
Wear safety harnesses and helmets
Avoid installation during strong winds or rain
Follow electrical safety procedures
Employ trained installation personnel
Safety compliance protects both workers and equipment.
Installation is only the beginning. Regular maintenance ensures stable performance.
Recommended practices:
Inspect structural connections periodically
Clean dust and debris from modules
Check power supplies and cooling systems
Monitor brightness consistency
Perform routine software checks
Preventive maintenance reduces downtime and repair costs.
Professional installation delivers several long-term advantages:
Optimal display performance
Improved operational stability
Reduced failure rate
Extended service life
Warranty protection compliance
For large commercial or stadium projects, expert installation is strongly recommended.
Installing an outdoor LED screen requires more than simply mounting display panels. From structural engineering and electrical planning to waterproof protection and system calibration, every step directly impacts performance, safety, and durability.
By following a structured installation process and working with experienced professionals, businesses can ensure their outdoor LED display operates efficiently for many years under demanding environmental conditions.
Choosing a reliable manufacturer also plays a crucial role in installation success. With professional engineering support, customized solutions, and dependable product quality, Hongwei LED display provides comprehensive outdoor LED screen solutions designed for stable installation, long-term operation, and outstanding visual performance.
By continuing to use the site you agree to our privacy policy Terms and Conditions.