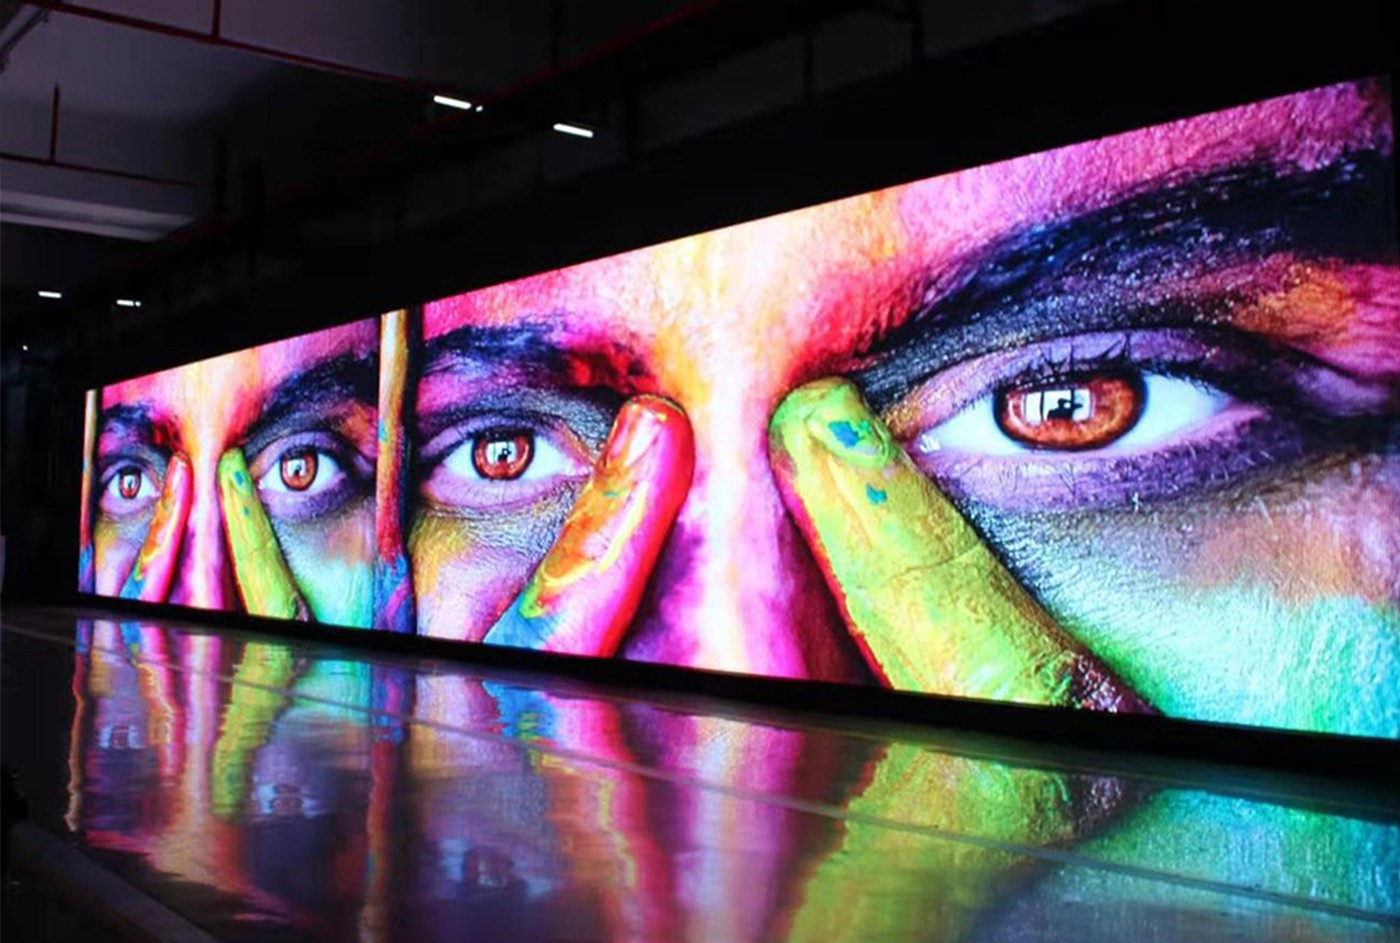
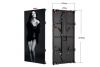
LED display boards are widely used in advertising, retail stores, stadiums, conference rooms, transportation hubs, and public information systems. While LED displays are visually impressive, their effectiveness depends heavily on correct programming. Knowing how to program a LED display board properly ensures that content is displayed accurately, clearly, and reliably.
This article provides a comprehensive, step-by-step guide on how to program a LED display board—from basic concepts and required tools to advanced features and troubleshooting. Whether you are a beginner or a technician, this guide will help you operate LED displays efficiently and professionally.

Before programming a LED display board, it is essential to understand how it works and what components are involved.
A typical LED display board consists of:
LED modules: The smallest display units that emit light
Cabinets: Structural frames that hold LED modules
Control system: Includes sending cards and receiving cards
Power supply: Converts AC power into DC power for LEDs
Cables: Power cables and data cables connecting all components
Unlike traditional LCD screens, LED display boards are modular. This means the final screen resolution depends on how many modules and cabinets are assembled together.
Single-color LED display boards (text and simple graphics)
Full-color LED display boards (images and videos)
Fixed installation displays
Different types may use different control software, but the core programming logic is similar.
Proper preparation helps avoid most programming problems.
A computer or laptop (Windows is most commonly supported)
LED display control card (e.g., NovaStar, Colorlight, Linsn, Huidu)
Communication method: LAN (Ethernet cable)\USB\Wi-Fi or 4G (for remote control)
Power supply connected and tested
Each control system has its own programming software. Examples include:
NovaLCT / ViPlex
LEDVision
HDPlayer
Colorlight LED Vision
Make sure you download the correct software version that matches your control card model.
Before programming, confirm:
Screen width and height (in pixels)
Pixel pitch of the LED display
Cabinet resolution
Module arrangement and wiring direction
Incorrect parameters can result in misaligned images or partial display.
Ensure all power supplies are correctly wired
Confirm voltage matches specifications
Power on the screen only after data cables are securely connected
Common connection methods:
LAN connection: Most stable and recommended
USB connection: Used for small screens or initial setup
Wireless connection: Convenient for remote content updates
Always verify that the computer and LED control card are on the same network when using LAN or Wi-Fi.
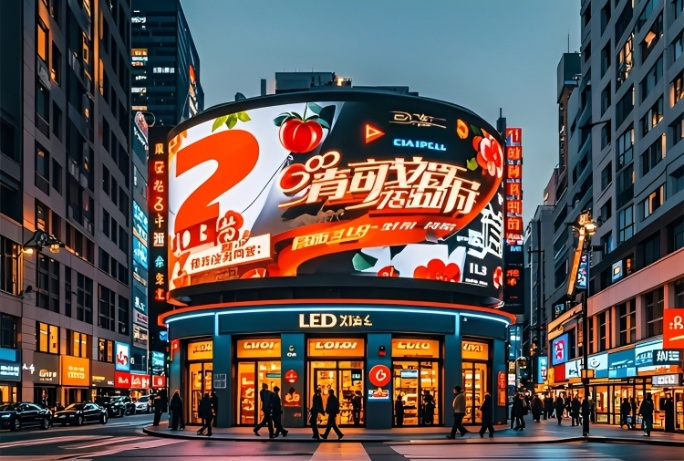
Download software from the official control card manufacturer
Install with administrator permissions
Disable antivirus temporarily if installation is blocked
In the software:
Create a new LED screen project
Set screen resolution (width × height in pixels)
Select correct control card model
Configure receiving card quantity and order
Module mapping is critical:
Set the correct scan type
Define data flow direction
Ensure modules are mapped in the correct physical order
Improper mapping causes flipped images, color errors, or black areas.
Most LED display software supports:
Text
Images (JPG, PNG)
Videos (MP4, AVI)
Animations
Design tips:
Use high-contrast colors
Avoid very small text
Match content resolution to screen resolution
You can divide the screen into zones:
Full-screen video
Split screen (text + video)
Ticker text at the bottom
Each zone can display different content simultaneously.
Configure:
Display duration
Loop settings
Brightness level
Transition effects (fade, scroll, zoom)
Outdoor LED displays usually require higher brightness during daytime and automatic dimming at night.
Always use preview mode:
Check image clarity
Verify alignment
Confirm color accuracy
Ensure text is readable from a distance
Testing helps catch issues before publishing.
Upload the content:
Via LAN or USB
Save programs to the control card
Confirm real-time display output
Once uploaded, the LED display board can run independently without the computer.
Modern LED display systems offer advanced functions:
Display different content at different times
Automatically switch ads or announcements
Ideal for malls, transportation hubs, and billboards
Update content from anywhere
Monitor screen status remotely
Useful for multi-location LED networks
Automatic brightness adjustment using light sensors
Temperature monitoring
Energy-saving operation
Synchronize content across multiple LED displays
Ideal for large venues or building façades
Check power and signal cables
Confirm correct control card selection
Verify network connection
Recheck screen size settings
Verify module mapping
Confirm cabinet resolution
Adjust color calibration
Check refresh rate settings
Ensure stable power supply
Restart software and control card
Disable firewall temporarily
Confirm IP address settings
Keep content simple and readable
Use large fonts and clear visuals
Avoid excessive animations
Optimize content for viewing distance
Regularly update software and firmware
Back up configuration files
Good programming improves user experience and extends the life of the LED display.
Programming a LED display board may seem complex at first, but with the right preparation, tools, and systematic steps, it becomes a straightforward process. From connecting hardware and configuring software to creating content and troubleshooting issues, each step plays a vital role in ensuring optimal display performance.
Whether you are managing a small indoor screen or a large outdoor LED display, mastering programming techniques allows you to maximize visual impact, operational efficiency, and reliability.
For professional LED display solutions, reliable control systems, and technical support for programming and operation, Hongwei LED display offers complete LED display products and services tailored to various application needs.
By continuing to use the site you agree to our privacy policy Terms and Conditions.